A To Z Glossary on Embroidery Designs | Cre8iveSkill

A to Z Glossary on Embroidery Digitizing - Cre8iveSkill

1. Applique:

An old design technique in which cuttings of particular shapes, motifs, or patterns from pieces of fabrics are stitched onto another material to add dimension. 
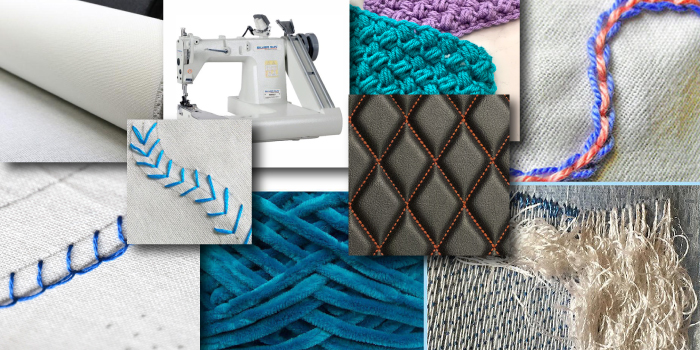
2. Arm Machine:

Arm machine is a stitching machine to automatically sew chain stitch design patterns or narrow-width tubular seams on heavy fabrics like denim and jeans.

3. Arrowhead Stitch:

It is a type of stitch that has a diagonal stitching pattern that has a zigzag effect. In this type of embroidery, two straight stitches meet to create the shape of an arrowhead.

4. Bump:

A bumpy or raised style of stitching that sits on top of the base rows in the previous round of crocheting, creating a three-dimensional effect.

5. Backing:

Any woven or non-woven material, also known as a stabilizer, placed permanently or temporarily underneath the base fabric to be embroidered for stability and support.

6. Basting Stitch:

Basting or tacking refers to quick and temporary stitches made with the purpose of removing them later to hold a seam in place until proper final stitches.

7. Bean Stitch:

Three or more stitches are made back and forth repeatedly between two specific penetration points for outlining more boldly and strongly than a simple run stitch.

8. Birdnesting:

Birdnesting refers to threads bunching up in a messy knot below the needle plate while embroidering. It leads to broken threads, improper stitches, and uneven tension.

9. Bobbin:

A small reel or spool wound with the thread meant for lockstitch machines. They can also be wound on sewing machines or sold pre-wound from the supplier. 

10. Blanket Stitch:

A kind of stitch that reinforces the edges of blankets and other thick fabrics. It can also be used as a decorative stitch for borders and edges.

11. Buckram:

A piece of stiff and coarse backing fabric is used to stabilize a softer material to hold it erect and show the embroidery pattern on the front side.

12. Bullion Stitch:

It is a decorative embroidery technique where the thread is twisted several times around the needle before inserting it into the fabric. It adds dimension to the embellishment.

13. Chain Stitch:

It is an embroidery technique formed by a series of loops that resembles a chain pattern made by inserting the thread from the bottom of the fabric.

14. Chenille:

It is a form of embroidery, also known as loop piling, using heavy yarns like wool or acrylic to form loop stitches on the upper side of the fabric.

15. Condensed Format:

T is a method of saving a digitized design in its skeletal form. The number of stitches between the defined points is determined afterward after scaling the size.

16. Cutaway:

A permanent embroidery stabilizer that supports a softer fabric on top to help with embroidery and make it look erect and prominent.

17. Degrade:

A technique of embroidery that involves color shading. The colors in the design shade from the darkest pigment to the lightest without being demarcated.

18. Digitizer:

Someone responsible for operating and supervising the computer program or the embroidery digitizing software that digitizes an embroidery design and stores it for future use.

19. Diamond Stitch:

A decorative crochet knitting done using double crochet rows and post stitch rows is arranged in a manner that appears to make diamond shapes.

20. Disk Reader:

It is an internal or external device fed into the programming of a digitized embroidery machine to determine the sequence of needle movements and produce the desired design.

21. Editing:

It is the process of changing parts of a design to modify the final product through a computerized embroidery editing program that allows scaling, editing stitches, and making combinations.
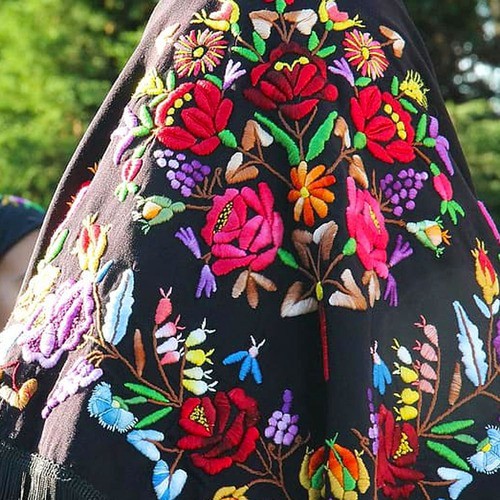
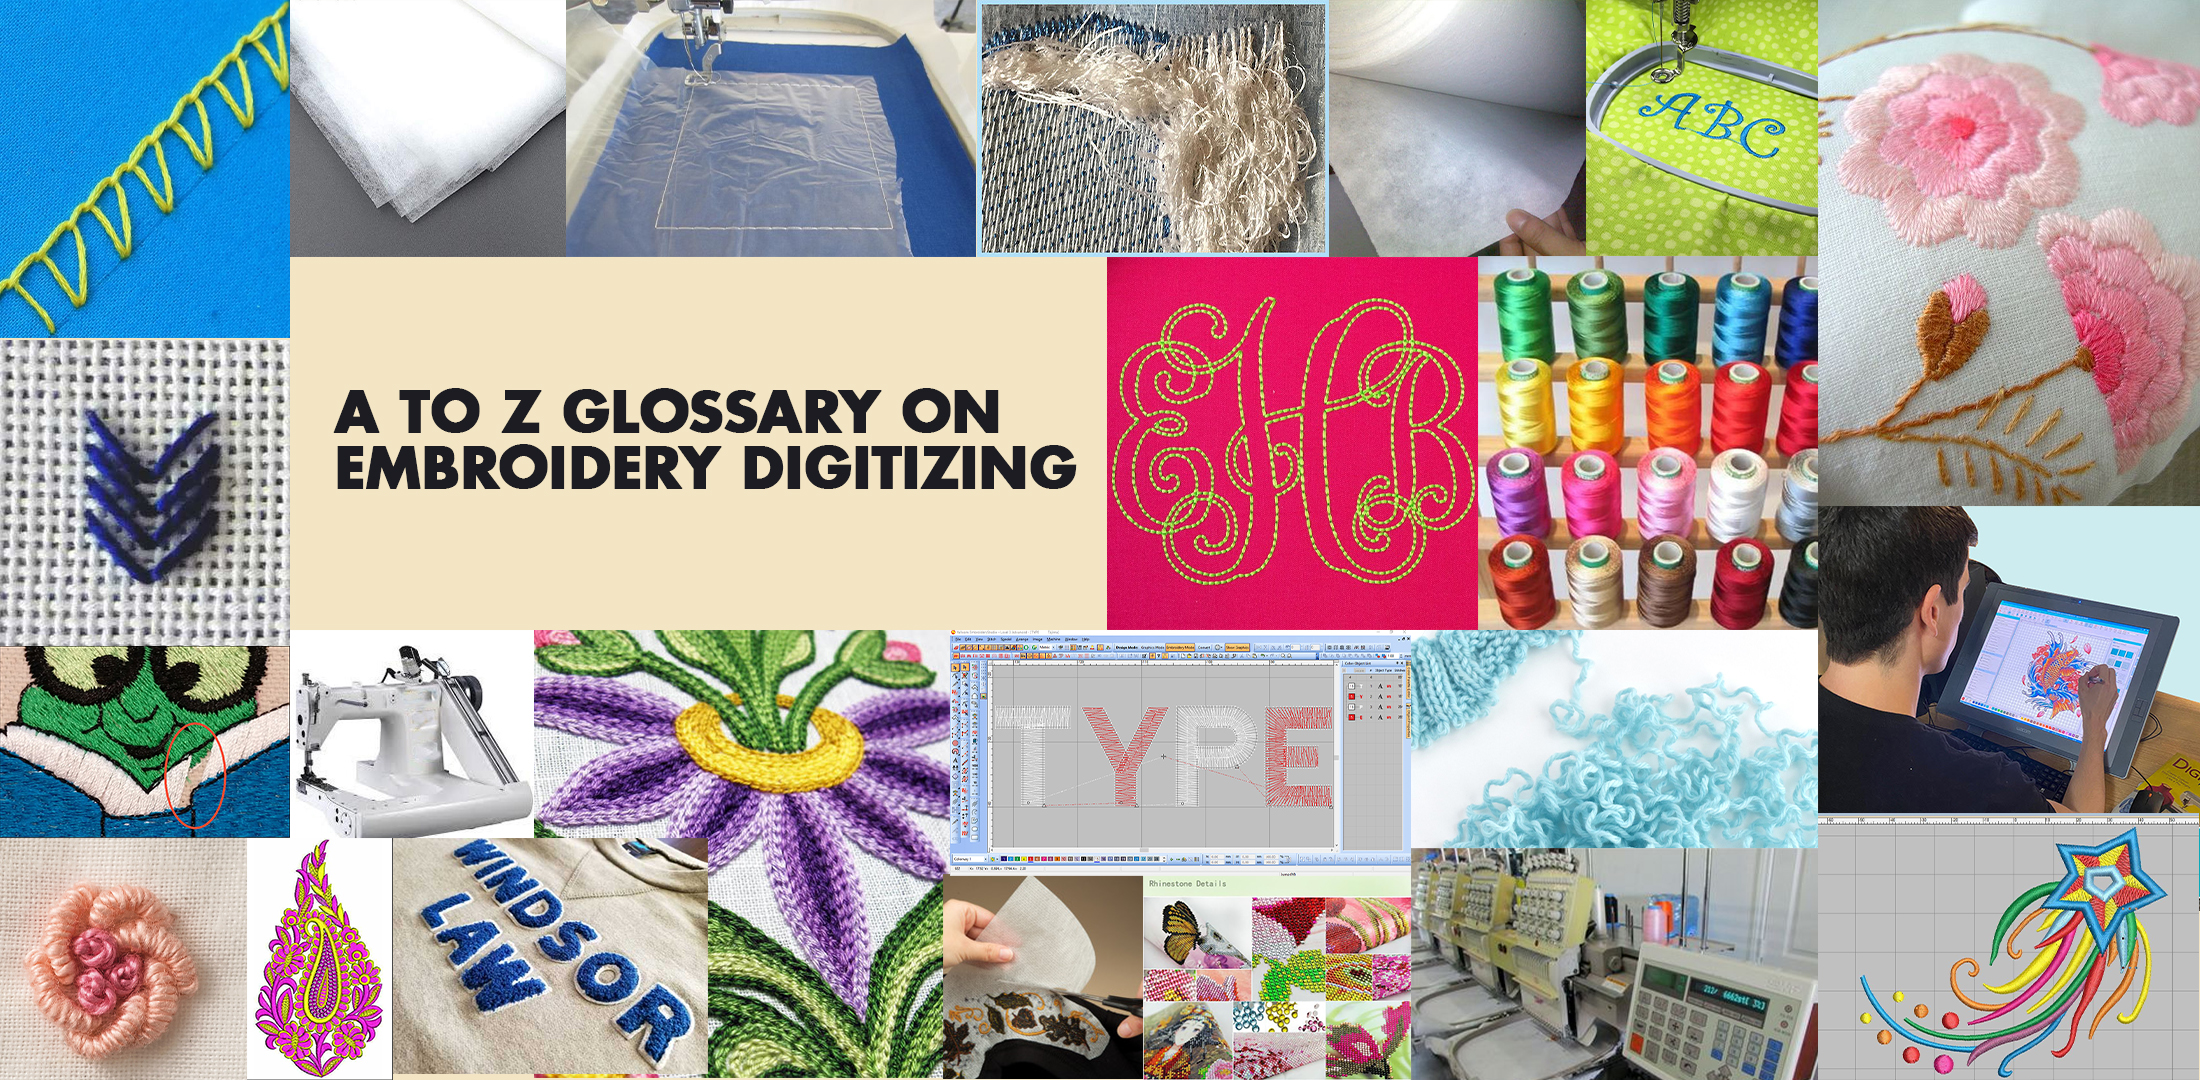
22. Embroidery:

The art of embellishing a piece of fabric using threads by following a stitching pattern or sewing technique to produce a particular design or pattern is called embroidery.

23. Expanded Format:

A digitized design format where individual stitches are set to a specific size and the stitch count is constant. The designs cannot be scaled up or down without distortion.

24. Frogging:

Frogging is an act of having to unpick or undo the knitting or crocheting pattern due to an error made in between or with the intention to change the design.

25. Flagging:

The distorted up and down motion of the fabric, akin to a flag, due to incorrect hooping, lack of embroidery stabilization, and misadjusted presser foot.

26. Framing Press:

The machine that helps with the framing and hooping process while carrying out the embroidery. It provides back support and maintains the tension of the fabric.

27. Gapping:

It is a flaw in the embroidery where the base fabric is visible amidst the design because of an error causing a gap in the stitching technique.

28. Gilt:

Gold-painted metal threads or textile threads having golden metal leaves wound around them. The threads can be silver or copper, too other than imitation gold.

29. Goldwork:

The art of embroidery using gold-painted metal threads or metal leaves wound around textile threads, secured to the fabric using a second silk thread.

30. Hardanger:

It is a form of whitework embroidery made with white thread over white, even-weave linen cloth. It follows the counted-thread technique as well as the drawn-thread method.

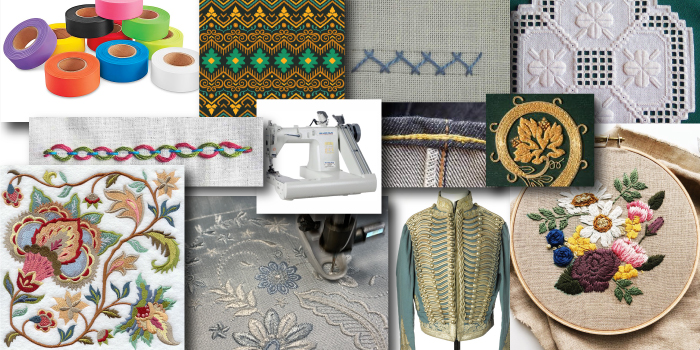
31. Herringbone Stitch:

A style of stitching used in embroidery, crochet and knitting that follows a pattern resembling the bones extending outwards from the spine of a herring fish. 

32. Hook:

Equipment that holds the bobbin case in the embroidery machine, which rotates twice, meeting the top thread at a set time and distance to complete each stitch.

33. Hoop:

A plastic, wooden, or a metal device that grips the base fabric for the embroidery between the outer ring and the inner ring to maintain adequate tension.

34. Ikat:

An Indonesian form of dyeing and weaving technique where the yarn is made to resist the dyeing before the actual process of weaving and coloring.

35. Interlaced Stitch:

A series of stitches where a second or a third thread in interlaced through the first line of foundation stitches without passing through the base fabric.

36. Jacobean:

A style of embroidery named after the period of King James I of England consisted of elaborate and ornate flowers, leaves, vines, birds, and animals.

37. Jumbo Rotary Hook:

A large sized hook in the bobbin driver present in lockstitch sewing machines, which continuously rotates to hook the upper thread when it crosses the 12 o’ clock position.

38. Jump Stitch:

The moving of the pantograph and the rotating of the sewing head without any movement of the needle. It helps to move from one point to the other in the embroidery.

39. Lockstitch:

A stitch formed by interlocking the needle thread with the bobbin thread. The machine loops together with the two threads on each side of the fabric.

40. Looping:

Loops formed on the top surface of the embroidery pattern due to improper tension of the top threads or as a result of skipped stitches.

41. Merrowed Edge:

A heavy border sewn over the edges of the patch stitched on a piece of fabric. It is generally done in geometrical shapes like ovals, squares, and circles.
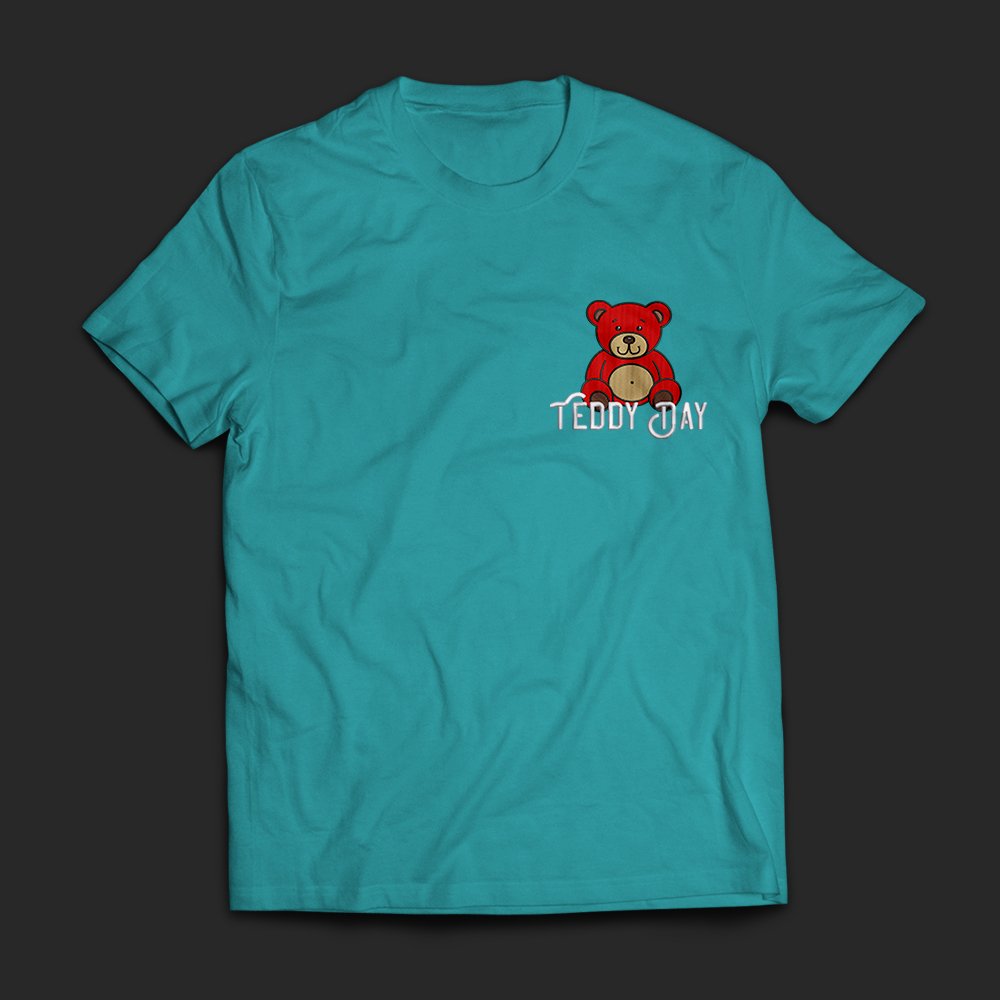
42. Monogram:

A subset of embroidery where small patterns or motifs, such as initials or logos are sewn onto a piece of fabric as a stamp or decoration.

43. Moss Stitch:

A form of embroidery, also known as chenille or loop piling, made using heavy yarns to form loop stitches on the upper side of the fabric.

44. Needle:

The device used to form the stitches in an embroidery process, carrying the thread through the fabric by passing through various points using various techniques.

45. Nippers:

Nippers, also known as thread clippers, are small scissors with springs that can be used to clip threads using only the thumb finger and the forefinger.

46. Offset:

A method used for placing and attaching appliques by moving the pantograph from the stitching area in a pre-set movement and returning to the origin.

47. Pantograph:

A section of the embroidery machine resting on the top of the table that helps to move the hoop and carry out the process of sewing the embroidery pattern.

48. Puckering:

The fabric being pulled by the stitches in the embroidery because of improper tension caused by insufficient backing support and stabilization, stretchy fabric, and loose hoops.

49. Rotate Pattern:

A programmed parameter set on a computerized embroidery machine that rotates the design by 90-degrees, with or without making a mirror image of the design.

50. SPI:

An abbreviation for Stitches Per Inch of an embroidery machine. It is expressed by measuring the number of lengths of threads present within one inch in embroidery.

51. SPM:

An abbreviation for Stitches Per Minute of the embroidery machine, referring to its running speed, or the number of stitches it can sew in one minute.

52. Stitch Count:

A count of the number of stitches present in a logo or a particular embroidery pattern. The stitch count increases with the size of the logo or design.
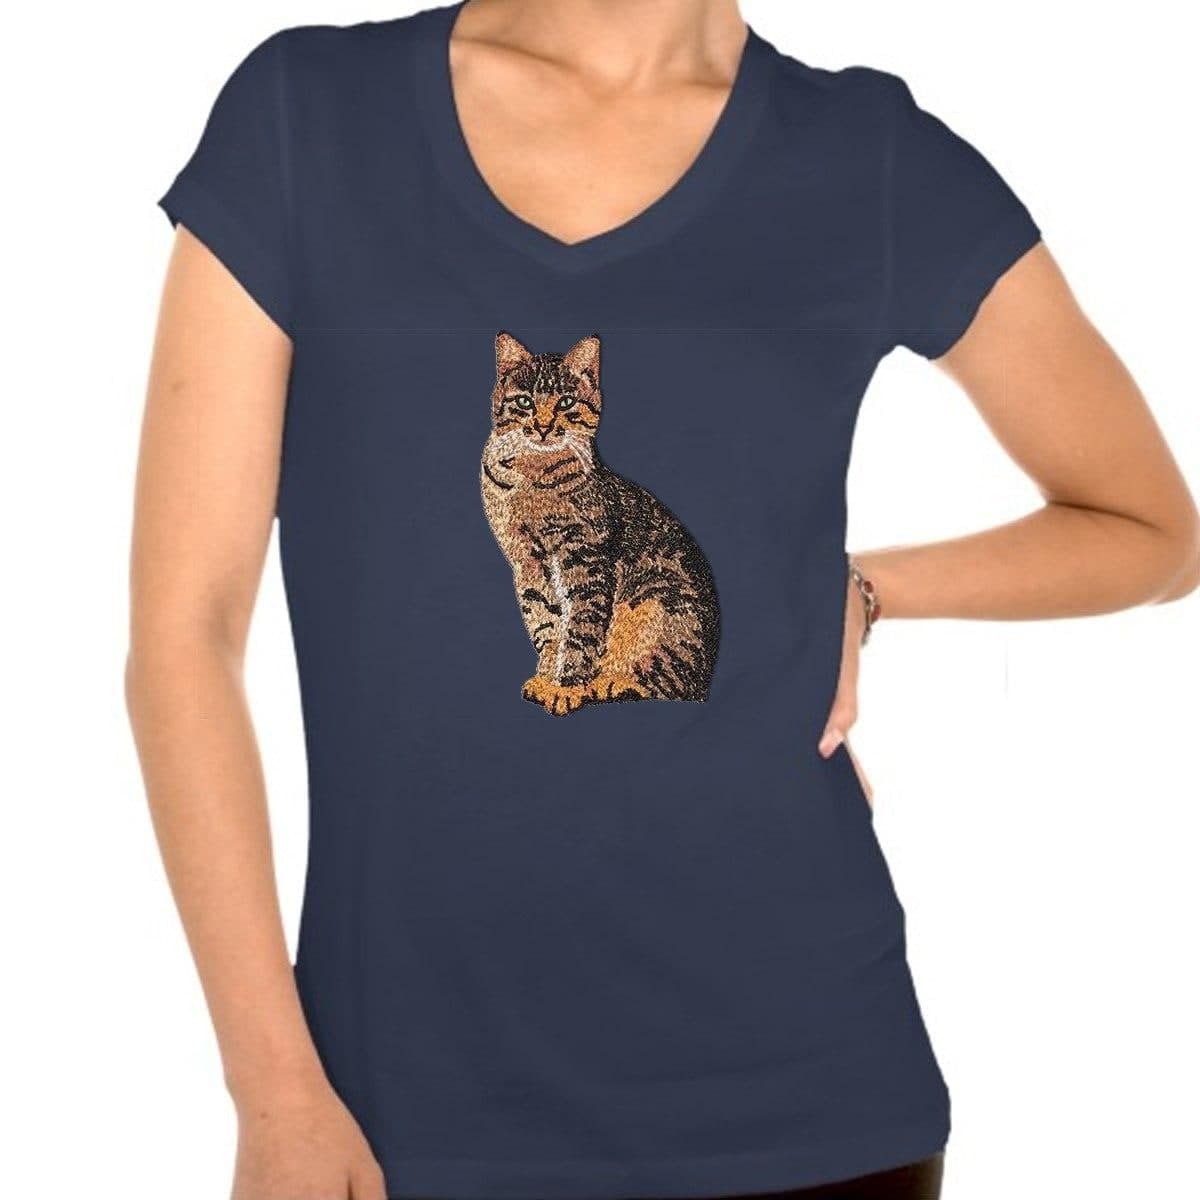
53. Stock Designs:

Digitized embroidery designs available readily to be stitched onto fabrics through embroidery machines for a vast number of customers, available at a cheaper rate than custom-digitized designs.

54. Tackle Twill:

Cuttings of letters and numbers from rayon twill fabric stitched onto clothes, especially sports jerseys with adhesive backing. The edges are then stitched in a zigzag pattern.

55. Tearaway:

A non-woven thin material placed temporarily under the back surface of the fabric being used for embroidery. The material can be torn off after completion.

56. Tubular Embroidery:

Embroidery is made using a computerized embroidery machine that helps sew designs on cylindrical or tubular garments like socks, sleeves, jeans, etc., after assembling the garment.

57. Underlay:

The skeleton or basic framework stitches of an embroidery design. These stitches are made before the main decorative stitches to provide support or foundation to the design.

58. Variable Sizing:

The ability to determine the size of a particular design on a digitized embroidery machine by scaling the size up or down as per need.
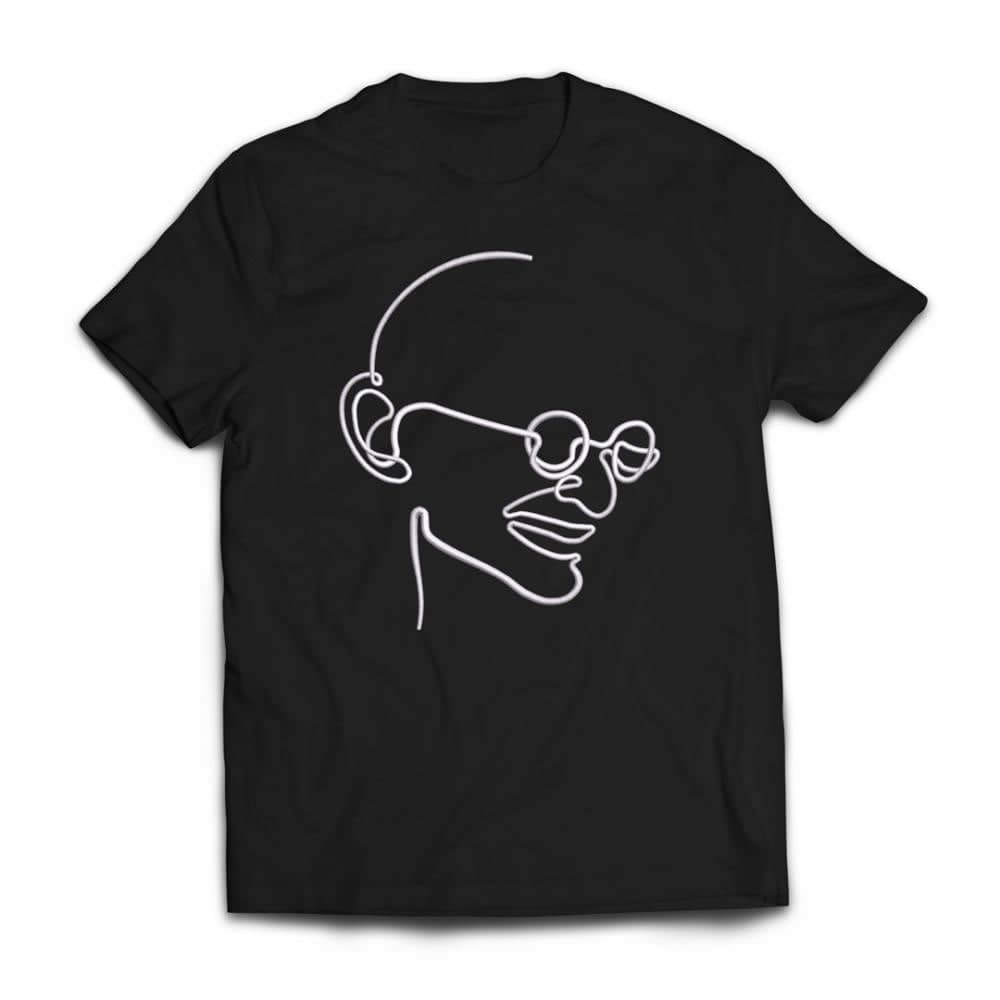
59. Zigzag:

A side-to-side stitching pattern used particularly for seams and decoration. The back-and-forth stitching technique is helpful in cases where a straight stitch isn’t enough for reinforcing.

Source: https://www.cre8iveskill.com/blog/a-to-z-glossary-on-embroidery-digitizing

Mistakes that you must avoid, That New embroidery digitizers do | Cre8iveSkill

Today we are discussing 4 mistakes that new Embroidery Digitizers make & you should avoid.

Using and depending excessively on autopilot

Your skill is your strength. Automated tools are just for help so that your time and energy are saved. However, as artists, you can imagine and differentiate between objects in the designs. You can use your skill to add and subtract the specifications of a design. You can play with stitch types to create marvelous designs. Embroidery is a 3-D art. It requires playing with lights and shadows. As artists, you can and should visualize the designs to make the best out of them. Use your skill to digitize embroidery. This will not only give you better outputs but also help you learn new things.

Intimidated by the screen

The quality of the design of a digitized embroidery file depends upon how the embroidery turns out and not how it looks on the screen. When printed, the embroidery tends to shift, stretch, run in one direction, and many other things happen to the fabric. When you focus more on the design displayed on the screen and not the actual output — the embroidery, you are intimidated by it and tend to fix things that do not need attention. You might also end up creating a perfect design but the outcome could be terrible.

Not focusing on the type of stitches

Digitizing an embroidery design requires a thorough knowledge of what kind of stitches are required to make a design look perfect. It also means that you should know what kind of stitches should be avoided. If you are conscious about the type of stitches that are required for the design, you will not end up wasting stitches.

Unrealistic testing

As new digitizers, you should aim for maximum exposure to how the embroidery machine works! Often, due to a lack of hands-on experience, you end up avoiding testing your designs or do not consider essential parameters for testing. Pay attention to the parameters such as colors, color combinations, stitches, threads, and fabrics.

Now, we understand that starting something new will have you commit mistakes. Well, it is good as long as you learn from each mistake. Focus more on how things work out and what requirements are needed from your client. You can take inspiration from experts in our industry. We have incredible designs on our website that will motivate you to do your job better. Visit our website from the information in the description box below and keep learning.

Description box:
We understand that starting something new will have you commit mistakes. Well, it is good as long as you learn from each mistake. Here are 4 mistakes that you must avoid as a New Embroidery Digitizer. Stay tuned to learn more!

EVERGREEN EMBROIDERIES TODAY, TOMORROW, FOREVER! | Cre8iveSkill

It is a classic! Decorating and beautifying a garment has always been important to people of all age groups. This legacy has been going on for over 1000 years and will only be loved more and more in the coming future. Personally, I think this is one of the most loved fashion trends. Why? Because, it underlines your style by making you look creative, different, and elegant.  Charles Eames quotes, “Details are not only the elements of the design, it makes the design”. It gives life to the design. 

Most embroideries are handmade, which means a lot of work goes into creating lush and expensive garments or accessories for such interaction and precision, which is obviously set at high prices. You want to have an embroidered dress but don’t have the budget for it? What if I told you that you can enjoy the same privileges at a much lesser cost? You won’t believe me, but we do have digitized embroidery where the embroideries are done by machines. You just have to provide your designs to the digitizing firms where the digitizers will rasterize your design into an embroidery machine-friendly format after which it can be loaded to the embroidery machine to create the embroideries you want on the garment. Easy Peasy! Digitizing embroideries is not only a pocket-friendly option but also saves the time and energy put in the production phase.  Digital embroideries can be done on various fabrics. Fabrics that have great hold of embroideries are the ones with great tensile strength. Let’s discuss these fabrics in detail.

Quilted Cotton Fabrics

Probably the most obvious choice for embroidery is 100 percent quilted cotton. Quilted fabrics are generally made up of a sheet of lightweight cotton fabric that is stitched in a regular pattern to a layer of batting. Some pre-quilted fabrics have another layer of cotton on the back, which makes both sides attractive and useful. The stitching is often in a diamond pattern, but other patterns can be found too. Quilting cotton is heavier than heirloom cotton. Heirloom cotton are also 100 percent cotton, but they are sheer which is problematic for embroidery as threads often show through. Embroidering on pre-quilted fabric is pretty easy and straightforward. This material is great to use in tote bags, protective cases, and organizers of all types.

Linen

Linen is lighter, more textured, and 30 percent stronger than cotton. It is created from the flax plant. Linen is considered one of the strongest natural fibers and wears extremely well. That’s probably why even the most used of antique linens are still highly sought after.

Silk

You may think of silk as a delicate, flimsy fabric but that is not always the case. Silk is a very lustrous fabric which when embroidered gives a very elegant and royal outlook to a garment. Silk dupioni combines the luxurious shine of silk with a crisp, strong base. Silk from conjoined cocoons run horizontally in the fabric producing a textured effect. It can easily be embroidered by hand or by machine.

Wool

Whether it is pure wool, felt or even synthetic blends of wool, this fiber is particularly suited for embroidery. It is strong, does not fray in felt form, and provides depth to embroidery without the worry of a deep nap that would swallow up stitches.  

PROs of Machine Embroidery

  Flower Digitizing – Cre8iveskill 1) Machine embroidery can be done with the help of an embroidery digitizer. Once an organization receives an artwork, the digitizer transfers it in an embroidery machine-friendly that can be read by an embroidery machine. The organization guarantees that each plan is consistent with the first. 2) Machine embroidery is fast and proficient. Most embroidery organizations as of now have created a number of embroideries for various products like T-shirts, tops, socks, and so on. The perfect measure of product material input is too be given by the client and the organization will make the required product for you in a financially savvy and convenient way. 3) Turn around time is quicker. The client’s embroidery is digitized and ready for machine embroidery in around only 12 hours.  4) Human errors like outline botches, tore materials, earth, and so on are limited or almost negative. 5) As machine embroidery is quick, the product is prepared in under two days depending upon the embroidery design.

Cons of Machine Embroidery

In this context, there are no cons for machine embroidery. Most computerized embroidery organizations have staff and high-end machines that manage any sort of crisis or urgencies. As it is obvious, machine weaving is a reasonable and down to earth choice to get fast outcomes, while holding high efficiency. For substantial requests, it just predicts well to connect with an embroidery digitization organization like Cre8iveSkill. With our group of highly trained and skilled digitizers, we ensure the most astounding quality final products for every order undertaken. We offer the most competitive pricing, with just 12 hours turn-around time. Connect with us for your embroidery necessities. A company with 2 decades of experience knows the deadlines. Get A Quote NOWClick on the link https://cre8iveskill.com/ click on the link Whatsapp +919130010350

Source: https://www.cre8iveskill.com/blog/evergreen-embroideries-today-tomorrow-forever.

Successful Embroidery Machine T-Shirts Designs Ideas By Cre8iveskill

T-shirts are the most comfortable outfits anyone can opt for; right from kids to olds, all have their own collection of t-shirts. Nowadays t-shirts have become an effective means of marketing and promoting brands. It is common to find t-shirts having brand logos with interesting artwork among employees and others associated with the company.

Designing a t-shirt may seem to be a fun activity, but there goes a lot behind those simple yet informative t-shirt design ideas. Custom t-shirt printinginvolves brainstorming designs for t-shirt ideas and many important choices that result in a valuable marketing tool or simply an attractive, cool t-shirt that makes you stand out of the crowd.

Here are 9 things you need to consider when deciding on Computerized Embroidery T-shirt Designs Ideas.

01. UNDERSTAND THE MOTIVE

Knowing why you need a customized t-shirt will help you plan further details effectively. Whether you plan to customize it for a personal occasion or for promoting your company’s brand, a clear understanding is important to make appropriate choices.

For personal occasions such as birthdays, anniversaries, or Halloween, t-shirt designs can be more trendy, creative and funky depicting the person’s behavior or carry the occasion’s mood. However, when it comes to designing a t-shirt for promotional activities, it needs to be precise, straight-forward and capable of creating a lasting impression on the onlookers’ minds.

02. PLAN YOUR TIMELINE AND BUDGET

It is quite obvious to have a timeline for the t-shirt designing task as you do for any other project. T-shirt design ideas must be confined to your budget constraints and stipulated timeline. As the process includes outsourcing your ideas for custom printing, you need to have a definite timeline set for a timely delivery. Moreover, the cost of t-shirt designing is directly proportionate to the material, designing and creativity you would want to incorporate; therefore it is better to have a budget in mind before proceeding with the choices.

03. DECIDE ON A FABRIC OPTION

The first thing that matters when designing a custom t-shirt is the comfort and durability of the apparel. Choosing the right fabric is important as it should be able to sustain the design. Find the below details for the preferred fabric type for the printing technique you select.

04. SELECT AN APPROPRIATE SIZE AND COLOR SCHEME

Sizing is an important aspect. Decide on the sleeve size and the t-shirt type as well as the placement of the design. Small designs go unnoticed on large-sized t-shirts whereas too big a design looks unpleasant on small t-shirts. Similarly, color combinations are an interesting and essential element that is responsible for the attractiveness of the t-shirt design. The tints, shades, and hues together make out a combination that brings out the personality of the wearer. Select color schemes that not only reflect your personality or brand but also go well with each other. Also, certain colors appear different on t-shirt fabrics, so you need to choose them carefully. It is always better to consult a professional designer to get better insights on the color schemes.

05. DETERMINE THE RIGHT TYPOGRAPHY AND DESIGN PLACEMENT

Typography matters a lot. The kind of text, font type, font size and readability factors all make a huge difference in the appearance of your t-shirt. Typography is important in communicating your message to the crowd, especially the competitors. Serif fonts offer a traditional appearance while Sans-serif fonts look modern.

Placing your design appropriately makes a visible difference in the overall appearance. Try placing the designs in the centre, top, right and left corners to check the visual appeal. For promotional t-shirts, designs in the center always work great. You can also choose to use the back of the t-shirt for printing logos, slogans or images.

06. ASSESS PRINTING OPTIONS

The printing technique is the actual decision that can make your customized t-shirt look professional or an absolute mess. Out of the many new techniques evolved in recent years, it can be difficult to select the right one that fits your budget and provides you with a beautiful product. The choice entirely depends upon the design details, fabric choice and most importantly the price you are willing to pay.

  • Heat Press Printing – This is the most inexpensive and common technique used for printing t-shirts in small quantities. However, this method won’t yield good results for darker fabrics.
  • Direct to Garment – You can choose this method for complex designs as it brings out an elegant design that feels soft to the hands too.
  • Screen Printing – For premium t-shirt designs, screen printing is always a great option. However, it does not work with multiple color designs.
  • Dye Sublimation – If you have chosen polyester fabric for your customized t-shirts, this method is just the right pick. It gives a durable design and is worth the amount spent.

07. EVALUATE THE DESIGN

Get a trial done with your projected design. Check whether the design fits on different sizes of t-shirts and whether it serves your budget constraints while not compromising on the quality.

08. APPROACH A PROFESSIONAL DESIGNER

It would be fun to design your own customized t-shirt. But when you wish to print a t-shirt for business purposes, it is always better to let experts do the job. Today, when digitization has connected the world too closely, it is not hard to find a professional designing company that will design exactly what you need within your budget.

09 STAY ORIGINAL & AHEAD OF THE TRENDS

Trends change constantly. So, try to develop a unique design keeping in mind the latest trends of fabric and another material choice. It is great to take inspiration but duplicity is not acceptable.

T-shirt design ideas for girls and boys may differ but chalking out an idea that can be worn by any person irrespective of gender and age is the real challenge. Cre8iveSkill allows you to explore different printing options at reasonable prices. Get in touch with one of our experts now and we will be happy to design a customized t-shirt for you. You can call us on +91-91300 10350 or write to us at info@cre8iveskill.com.

Source: https://www.cre8iveskill.com/blog/successful-computerized-embroidery-digitizing-t-shirts-designs-ideas.